Hi-Res 3D · AR-Ready
Byrst's photogrammetry engine turns a simple photo shoot into a full 3D model that works in AR. You don't need any 3D software or a special team. Just follow this guide and get it right on your first try.
Create 3D model4 steps · 40–120+ photos · AR-ready output
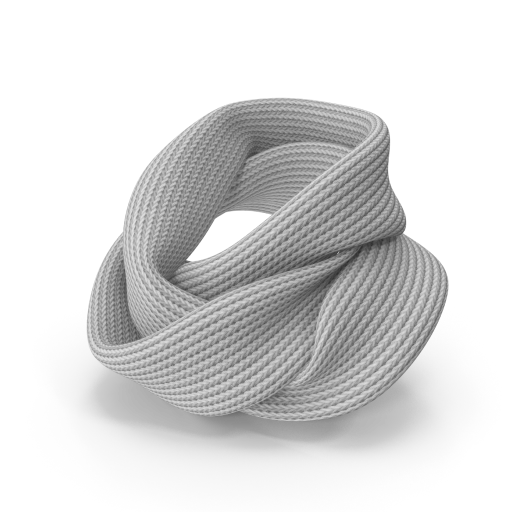
Choose the Right Object
Learn which objects work best for 3D scanning and which ones to skip before you start shooting.
Set Up Your Shoot
Get your gear, lighting, camera settings, and space ready so you can capture the best photos.
Photograph the Object
Use the four-passes method, keep 70% overlap between shots, and know how many photos to take based on object size.
Upload to Byrst
Send your photos the right way to get a clean 3D result. Find out what to do and what to avoid.
Byrst's engine finds key reference points on an object's surface to build the 3D model. Follow these four steps to get the best results.
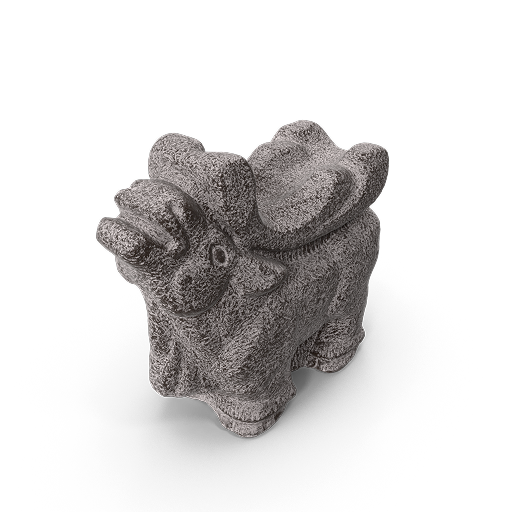
This is the most important step. Byrst works by finding unique reference points on your object's surface. Objects with more visual detail give the engine more to work with, so the results come out better.
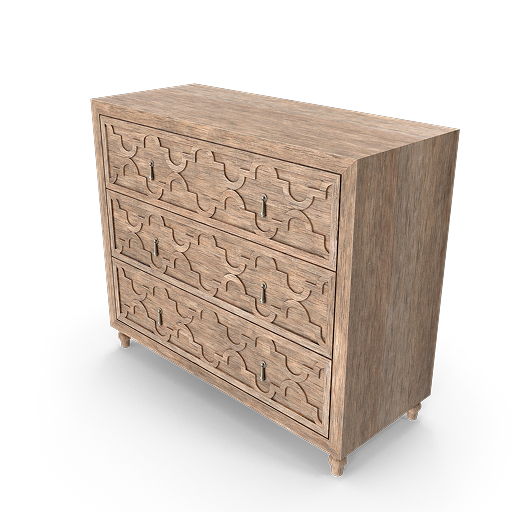
Lets the camera pick up clear shapes from every angle
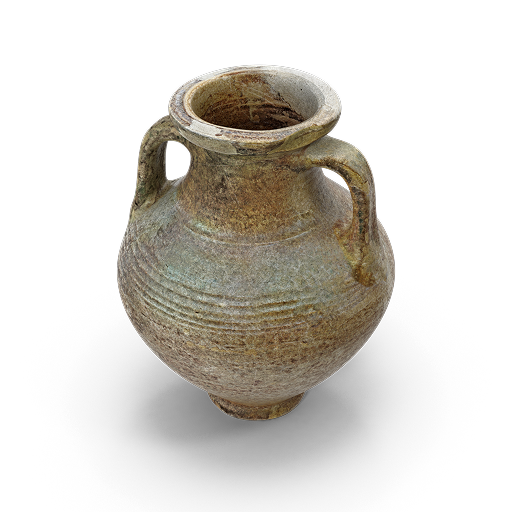
Gives the software more points to match between photos
Surface details give the software clear landmarks to track
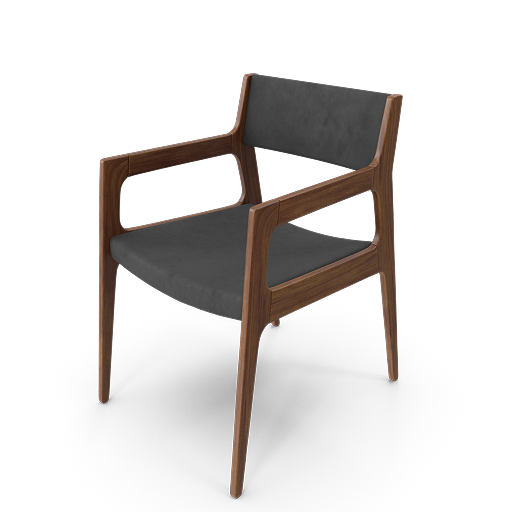
The object needs to look exactly the same in every photo
If the shape changes between shots, the 3D build will break

Not enough 3D shape to work with. Try Byrst 3D-Xpress instead
Reflections confuse the software and create holes in the 3D model

With no detail, the software has nothing to match between photos
The right gear and consistent camera settings are both important.
Read the caution note below before you start.
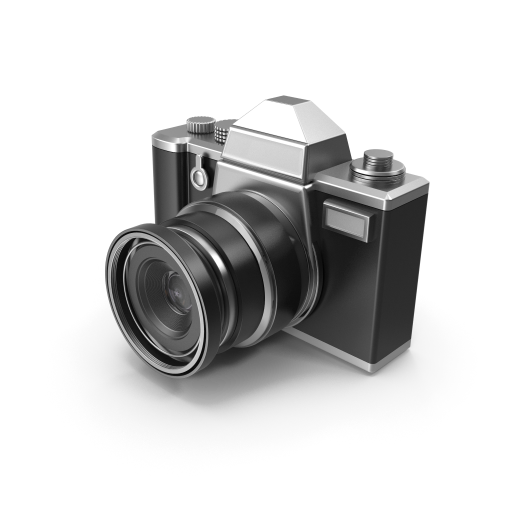
DSLR, mirrorless, or a smartphone set to its highest resolution
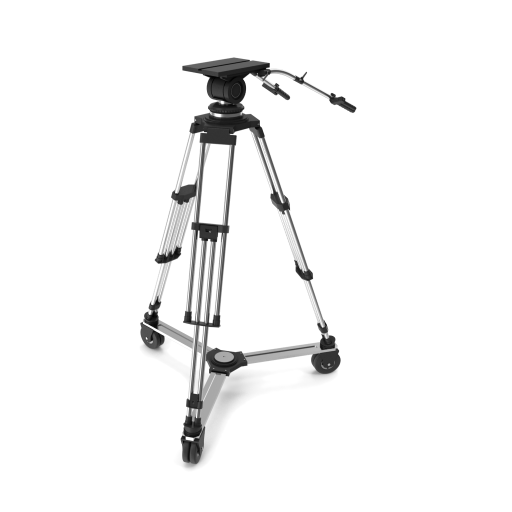
Keeps shots steady and consistent at every angle and height

Spins the object so you can capture smooth, even orbits
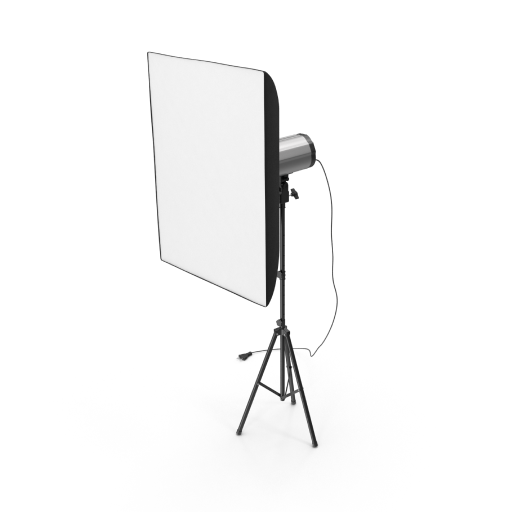
Softboxes or bounced light keep things bright and shadow-free
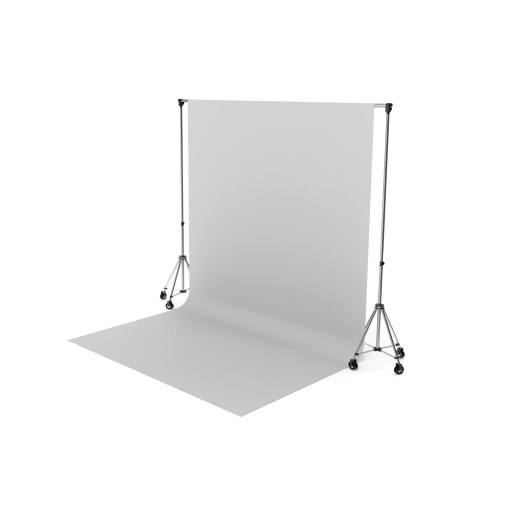
A plain backdrop so each photo shows only the object
Caution: Once you start shooting, do not change any camera settings. This includes zoom, aperture, shutter speed, and ISO. If your settings change mid-shoot, the 3D model will come out distorted or may not build at all.
Fill as much of the camera frame as you can with the object without cutting off any part. Each photo should overlap at least 70% with the one before it. Take three full orbits at different heights.
See the full orbit technique below
When your photo session is done, upload your images to the Byrst platform for 3D processing. Before you upload, go through your photos and remove any that are blurry, overexposed, or duplicates. Do not crop or resize your photos. The software needs the full-resolution originals with the same framing in every shot.
See the upload process below
Shooting four passes at different heights makes sure the software captures your object's shape from every angle: the top, the sides, and the bottom.
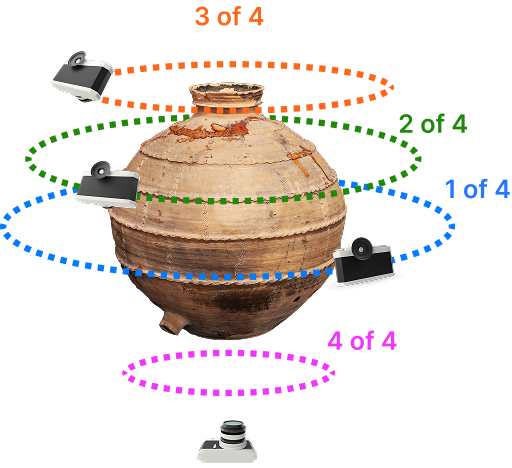
First pass. Hold the camera at eye level and walk all the way around the object. Take a photo every step or two and keep the object in the middle of the frame.
Second pass. Raise the camera a little and tilt it down about thirty degrees. Walk the same circle again. This picks up the top edges that the first pass could not fully see.
Third pass. Tilt the camera even more, to about sixty degrees, and walk around again. This covers the top of the object.
Last pass. Tip the object onto its side and walk around it one more time. The bottom is the only part we have not photographed yet, so this finishes the job.
Each consecutive photo must share approximately 70% of its visible content with the previous photo. The software finds the same surface points across multiple images. Without enough overlap, it can't build an accurate 3D model.
Taking more photos is generally better than fewer. It's much easier to take extra shots during the session than to re-shoot later.
Position object so it fills the frame without cutting off any part
Keep camera at consistent distance from the object throughout each pass
Shoot every 10–15° around the full 360° for each pass
Each photo must overlap ~70% with adjacent photos
Don't start shooting until every item below is confirmed. This checklist covers the most common reasons 3D models fail.
Once your session is complete, upload your image batch to Byrst for processing. A few key rules before you hit submit.
1
Sign in to your account at byrst.com and navigate to the 3D Model creation section.
2
Remove any blurry, overexposed, or duplicate frames before uploading. Do not crop or resize.
3
Select all photos from your shoot and upload them together as a single batch for processing.
4
Byrst's engine generates your 3D model. You'll receive a notification when it's ready.
Do not crop or resize
The software needs your original photos at full resolution, with the same framing in every shot
Do not apply filters or post-processing
The 3D model needs your photos to be unedited and consistent
What type of camera do I need?
Any DSLR, mirrorless, or high-quality smartphone camera works. The key requirement is shooting at maximum resolution with consistent settings. Do not change focal length, aperture, shutter speed, or ISO at any point during your shoot.
Why does the 70% overlap rule matter?
Byrst's engine finds the same surface points across multiple photos to build the 3D shape. Without enough overlap, the software can't match points between photos and will leave holes in the model or fail completely. 70% overlap gives the engine enough shared content to work with.
How many photos do I really need?
At minimum: 40+ for small simple objects, 80–100+ for medium objects like dressers or chairs, and 120+ for large or complex objects. Taking more photos is always safer. It's much easier to shoot extras during the session than to come back and reshoot. Only remove photos that are blurry or duplicates before uploading.
Can I shoot in natural light?
The goal is soft, even lighting from all sides. Natural light from a large north-facing window can work, but direct sunlight creates hard shadows that hurt the final model. Cloud cover is a good natural option. Do not shoot when the light is changing fast. Consistent lighting across all your photos is key.
My object is shiny. What can I do?
Reflective surfaces are one of the hardest challenges for 3D scanning. Options include applying a temporary matte spray to the surface (removable), using polarizing filters on your lights and lens, or trying Byrst's 3D-Xpress component, which is designed for flat, thin, or shiny objects that don't require full 3D scanning.
Can I edit my photos before uploading?
No. Do not apply any filters, color grading, cropping, resizing, or other edits before uploading. The software needs your photos to be unedited and consistent across the whole batch. You can only remove photos that are blurry, overexposed, or duplicates.
How long does processing take?
Processing time depends on how many photos you uploaded and how complex the object is. You'll get a notification when your model is ready. You don't need to keep the browser tab open. Larger batches take longer to process.
You now have everything you need: the technique, the checklist, and the four-step process. Log in to Byrst and create your first high-resolution 3D model today.