
3d from photos · AR ready
Upload one to four photos of any object, like furniture, decor, or everyday items, and Byrst builds a ready-to-use 3D model. You do not need 3D software, a specialist, or a pipeline.
Create 3D model1 to 4 photos · JPEG, PNG, WebP · AR-ready output
Add Up to 4 Images
Upload photos from the front, side, and back. One photo is enough to get started.
Adjust Settings
Change settings like the texture prompt to control how the material and surface look.
Generate 3D Model
Byrst processes your photos and builds a full 3D model that is ready for AR or embedding.
Set Real-World Size
Set the model dimensions so it shows up at the right physical size in every AR session.
Share or Embed
Send a direct link or paste an embed snippet into any website or product listing.
Skip the 3D pipeline. Go from a product photo to an interactive model in minutes.
Byrst can build a full 3D model from a single photo. More photos add detail, but one is always enough to get started.
Get a 3D reference model in minutes. Great for a quick size, style, or placement check without hiring a 3D artist.
No Blender, no Maya, no specialist required. Any team member can create a model from phone photos with no training.
Furniture, lighting, decor, retail products. If you can photograph it, Byrst can model it. No category limits.
Add a short description of the material, like walnut wood or brushed steel, and Byrst uses it to sharpen surface quality.
Set the real-world width, depth, and height so the model shows up at the right size in any AR session.
Every model gets a shareable link and a one-line embed code. Drop it into any product page or website with no extra setup.
Models save directly to My Items and are ready right away in AR View, Scene, and every other Byrst workflow.
Upload. Generate. Share. No 3D skills required.
Upload one to four photos of the object. More angles give Byrst more to work with, but a single front-facing shot is enough to make a usable model. JPEG, PNG, and WebP are all converted automatically on upload.

Drag and drop or browse. JPEG, PNG, and WebP are all supported.

Front, then side, then back. Byrst uses the angle order to rebuild the shape.

JPEG, PNG, and WebP. Higher resolution photos produce sharper 3D models.
Before you generate, you can adjust settings to guide the output. The texture prompt is the most useful one. Describe the surface material in plain language and Byrst uses it to sharpen texture quality. This helps most when your photos do not fully show what the material looks like.
Click Generate and Byrst processes your photos. It analyzes the angles, rebuilds the shape, and adds textures on its own. When the model is ready, it appears in the viewer. Drag to spin it 360 degrees and check that everything looks right before you move on.
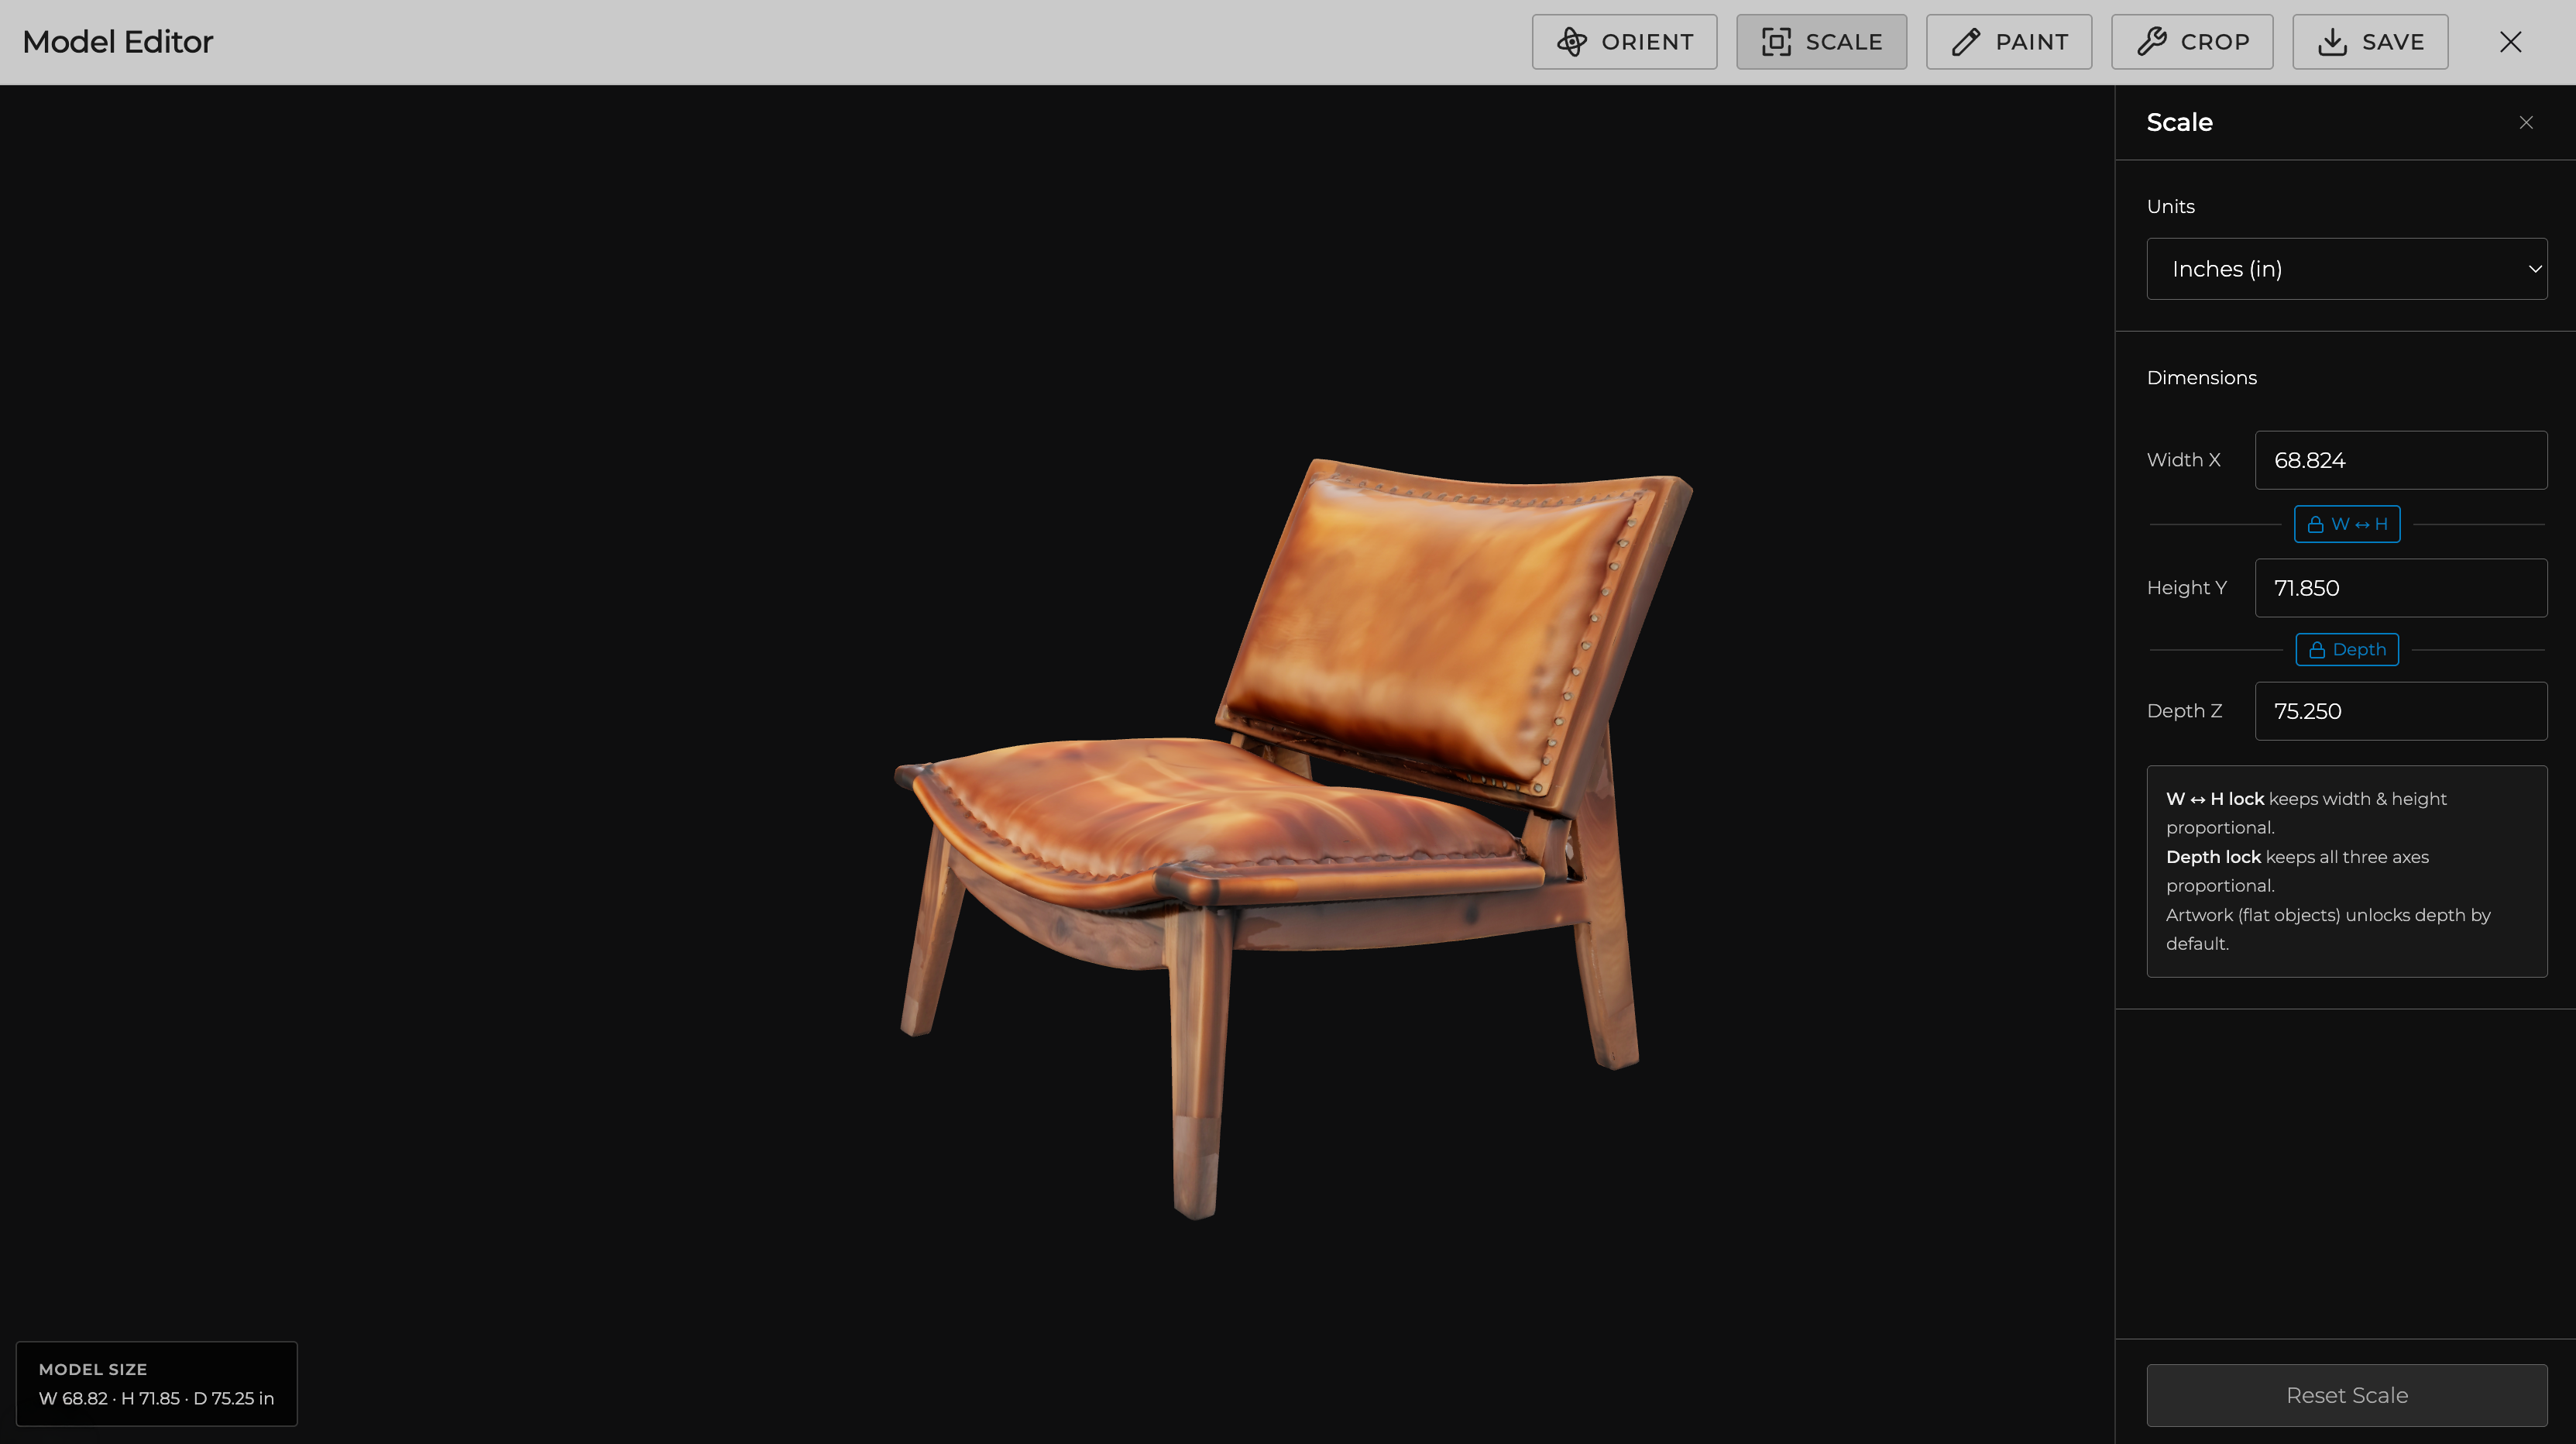
In the model editor, enter the actual width, depth, and height of the object. Byrst scales the model so it shows up at the correct physical size in every AR session. Shoppers can see exactly how it fits in their space.
Your model is saved to Items and ready to share. Send a direct link so anyone can view it in their browser, or copy the embed code to add the 3D viewer to any product page or website.

A direct URL opens the model in an interactive 3D viewer. No app or account needed to view it.

One HTML snippet adds a full 3D and AR viewer to Shopify, Webflow, WordPress, or any custom page.
If you have photos, you can have 3D models.

Turn product photos into AR-ready models. Let shoppers place sofas, tables, and chairs in their room before ordering. Fewer returns, more confidence.

Add 3D and AR to any product listing using only your existing photos. No 3D production budget needed. Just upload and generate.

Create quick 3D references for client proposals. Show how a specific piece looks in a space without a full CGI render or physical sample.

Get more out of every shoot. The same images you send to a client can be run through Byrst to produce a 3D model at no extra effort.

Give bidders a 3D view of lots before they bid. Works especially well for furniture, decorative objects, and items where size and condition matter.

Generate 3D assets from product photos for campaigns, social content, and pitches. No 3D artist needed and no production pipeline to wait on.
One photo is enough. Upload a single image and get a complete, usable 3D model.
From your first upload to a shareable 3D model link, ready to send or embed.
Furniture, lighting, decor, retail products. If you can photograph it, Byrst can model it.
Do I really only need one image?
Yes. A single front-facing photo is enough to generate a complete 3D model. Adding a second, third, or fourth angle gives Byrst more shape data and improves accuracy on complex objects. But one clean photo is a perfectly good starting point, especially for quick references.
What order should I photograph the object?
For best results, follow this order: front, then side, then back, then a detail close-up. This helps Byrst understand how each angle relates to the others. You do not need all four. Stop at any point and Byrst will work with what you have.
What does the texture prompt actually do?
It gives Byrst a material hint when the photo alone does not fully show the surface. For example, if a photo of a walnut table looks like generic brown, adding "walnut wood with a satin finish" helps Byrst sharpen the grain patterns and surface detail. It is optional. Skip it if your photo quality is already high.
How accurate is the generated 3D model?
Byrst-generated models are great for style, scale, and placement references. They capture the overall shape and proportions well. Very fine details like stitching, engraving, or thin edges may be approximated. For product pages and client presentations the output works well. For precision manufacturing or technical use, a professionally modeled asset is the better choice.
Can I edit the model after generating it?
Yes. You can update the real-world dimensions at any time. Just open the model in My Items and adjust the width, depth, or height. Geometry and textures are set during generation, so if you need a very different result you would re-upload with a different set of images or prompt.
Does the embedded viewer work on mobile?
Yes. The Byrst embed works on both desktop and mobile browsers. On iOS and Android, it also shows an AR mode button. Visitors can place the model in their physical space using their camera without downloading any app.
Are generated models saved to my Byrst library?
Yes. Every generated model is automatically saved to My Items in your Byrst account. From there you can use it in Byrst Scene for room visuals, share the link, embed it, or update its dimensions at any time.
Stop waiting on 3D artists. Upload your product photos and generate a shareable, embeddable 3D model today. Free to try, no software to install.